
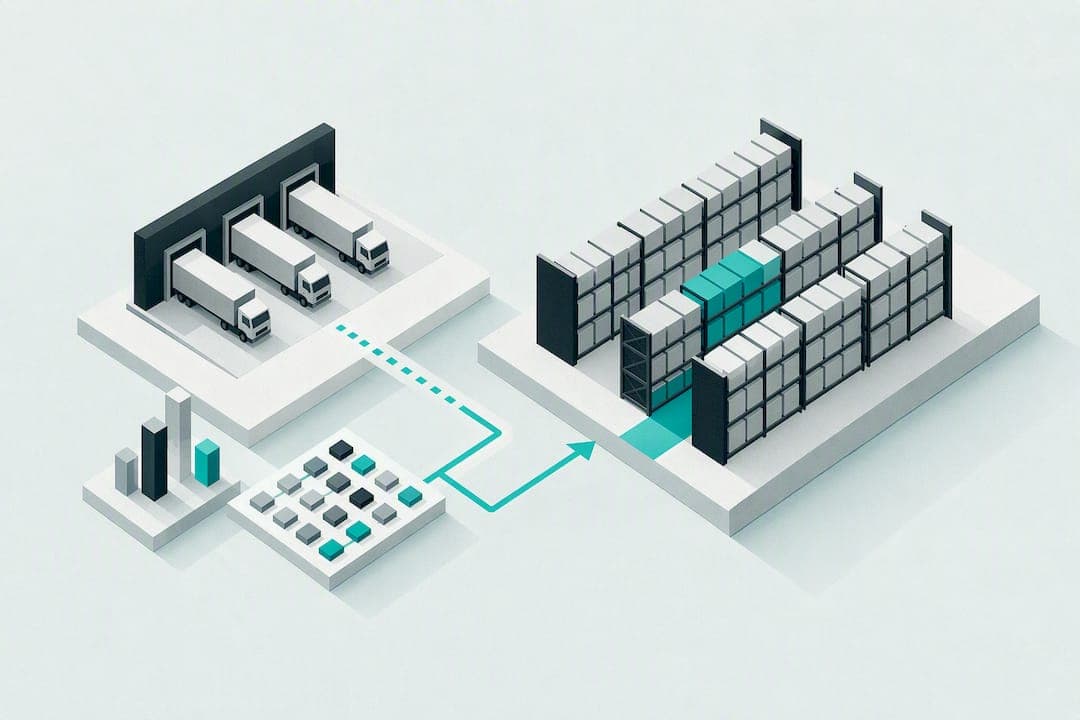
Start by measuring the building, not the racking catalogue. Take multipoint readings of ceiling height, column spacing, sprinkler clearance and forklift turning circles before you sketch a single bay, because these fixed constraints decide your maximum rack height, aisle width and usable capacity long before SKU mix or throughput even enter the conversation.
TL;DR:
- Measuring ceiling height, column spacing, sprinkler clearance, and obstructions accurately can increase storage capacity by 25 to 40 percent and prevent costly redesigns.
- Racking placement should follow operational zones like receiving, quality control, primary storage, and order picking, with faster SKUs positioned closest to packing and shipping areas.
- Selecting the appropriate racking system depends on SKU count and turnover speed, with options like selective, push-back, drive-in, flow, and shuttle racks, each suited for different operational needs.
- Aisle widths must match the actual fleet equipment specifications, with a minimum of three feet wider than the largest vehicle, to avoid expensive layout rework.
- Incorporating real dock and queue data during layout planning helps validate capacity, optimize space, and identify issues before steel installation.
Table of Contents
- How do you plan a warehouse racking layout?
- Which functional zones should shape your racking plan?
- Which racking system fits your operation?
- What aisle width does your racking layout actually need?
- How do you calculate racking capacity and vertical space use?
- What safety and fire codes constrain your racking layout?
- Which layout flow suits your racking orientation?
- How do you choose and pilot the final racking layout?
- How does operational data sharpen racking layout decisions?
- What maintenance and inspection protocols keep racking safe?
- How do temperature and humidity affect racking choice?
- How should a WMS connect to your racking layout?
- Which equipment must your racking layout accommodate?
- How does lighting affect racking layout efficiency?
- How do you plan for future racking expansion?
- What do field installations teach about racking layout?
- How can DockLedger support your racking layout project?
- Where can you check current racking standards?
- Sources
How do you plan a warehouse racking layout?
Every racking project starts on the floor, tape measure in hand, not at a computer screen. Get the physical envelope wrong and every rack drawing built on top of it is fiction.
Measure length, width, and clear height at several points across the building, not just at the entrance. Warehouses settle, floors slope, and ceilings dip near roof trusses or HVAC ductwork, so a single reading near the dock door can overstate your real capacity by a surprising margin. Record column positions and spacing, dock door locations, sprinkler deflector heights, and any electrical panels, fire risers, or other fixtures that eat into usable floor space.
- Length, width and multiple clear-height readings (not just one point)
- Column grid positions and spacing, since these dictate bay widths
- Sprinkler deflector heights, needed to set maximum rack height
- Dock door positions and swing clearances
- Fixed obstructions: electrical panels, risers, HVAC drops, office pods
The deliverable from this stage should be a measured drawing that marks every unusable zone and service-access requirement. Skip this and you risk designing racking that physically cannot be built where you planned it, which is the single most expensive mistake in warehouse storage systems planning. Accurate measurement work at this stage can lift storage capacity by 25 to 40 percent purely by avoiding wasted space and rework further down the line.
Which functional zones should shape your racking plan?
Racking placement follows operational zones, not the other way round. A warehouse layout only works when it is treated as one connected system: decide what happens where before you decide what sits on the shelves.
Six zones cover most sites:
- Receiving — where goods arrive, get checked in and staged
- Quality control and staging — inspection, labelling, temporary holding
- Primary storage — your main pallet racking or shelving footprint
- Order picking — fast-access locations tuned for pick frequency
- Packing and staging — outbound consolidation before dispatch
- Services and support — battery charging, maintenance, staff facilities
Put your fastest-moving SKUs in the "golden zone" the nearest packing and shipping, and push slow-moving reserve stock further back or higher up. Then set your main aisles along the primary flow path and add cross-aisles at intervals to stop pickers walking the full length of the building for every order. Get this wrong and no amount of clever racking configuration fixes the wasted travel time.
Which racking system fits your operation?
There's no single best racking configuration. The right pallet rack design depends entirely on your SKU count, turnover speed, and how you pick.
- Selective racking gives you access to every pallet, every time. Lower density, but ideal when you carry many different SKUs and need flexibility.
- Double-deep racking stores two pallets deep per position, improving density while still needing a reach truck for the rear pallet.
- Push-back racking stacks pallets on nested carts, loaded from the front, and works well for a moderate number of SKUs with LIFO retrieval.
- Drive-in and drive-through racking let trucks enter the rack structure itself, maximising density for high-volume, low-SKU-count storage, but they enforce LIFO and slow retrieval.
- Pallet flow racking uses gravity rollers so stock moves front to back, giving true FIFO rotation, which matters for perishables or date-coded goods.
- Shuttle systems use a powered cart inside the rack to move pallets automatically, adding density and speed at a higher equipment cost.
- Mobile racking runs on tracks that close aisles when not in use, useful where floor space is scarce and access frequency is low.
- Cantilever racking handles long, awkward loads like timber, pipe, or bar stock that pallet rack simply cannot hold.
- Mezzanine and pick modules add a second storage level above ground-floor racking, useful for small-item picking where cube space is underused.
Selective racking gives full access at lower density, while drive-in and push-back trade access for density and typically force LIFO retrieval. Denser systems generally need narrower aisle equipment or specialist trucks, and some configurations trigger additional building permits because of height or occupancy changes. Match the system to your SKU profile first. Chasing density for its own sake, without checking whether your operation actually needs it, is how warehouses end up with racking that looks impressive and performs badly.
What aisle width does your racking layout actually need?
Aisle width is not a fixed number pulled from a table. It's a function of the exact equipment running down that aisle, and OSHA guidance states that aisles should be at least three feet wider than the largest equipment using them, which means checking your actual fleet specs rather than a generic industry minimum.
Narrower aisles buy you more racking per square foot, but they lock you into specialist trucks that cost more to buy, lease, and maintain. Wider aisles cost storage density but let you run flexible counterbalance fleets. Before you commit either way, validate the numbers against your fleet's actual turning radius and mast clearance specs, because generic aisle minima are one of the most common causes of layout rework after installation.
How do you calculate racking capacity and vertical space use?
The core capacity formula is simple, and it comes straight from standard warehouse layout planning practice:
- Calculate usable floor area (total floor area minus aisles, obstructions, and clearance zones).
- Divide usable floor area by the pallet footprint (typically around 1.2m by 1.0m, plus rack frame allowance).
- Multiply by the number of rack levels you can fit within your clear height, after subtracting sprinkler clearance and beam depth.
- Adjust the theoretical total down for safety clearances, flue space, and beam deflection allowances to reach a realistic usable figure.
A worked example: a 10,000-square-foot storage zone with a 1.4-square-metre effective pallet footprint (including frame allowance) yields roughly 665 theoretical positions per level. Across four levels, that's 2,660 theoretical positions, but after aisle and clearance deductions, expect the realistic figure to land 15 to 20 percent lower. That gap between theoretical and realistic is where most first-draft layouts overpromise capacity to management.
What safety and fire codes constrain your racking layout?
Every racking layout has to survive contact with a fire marshal and a building inspector, not just a warehouse manager's sketch. ANSI MH16.1-2021, published through the Rack Manufacturers Institute, is the standard most North American building codes reference for structural and safety criteria on industrial storage racks, and it's worth having a qualified racking engineer sign off your design against it before steel goes in.
Key constraints to work through:
- Sprinkler deflector clearance — leaving 18 to 36 inches below deflectors is a common requirement that directly caps your maximum rack height.
- Flue space — vertical and horizontal gaps that let sprinkler water reach lower levels; commodity class changes how much you need.
- Egress paths — racking cannot block designated exit routes, full stop.
- High-pile storage triggers — racks above certain heights often require in-rack sprinklers or smoke vents, so check with local fire authorities early, not after ordering steel.
Document every code constraint directly on the layout drawing, and bring the fire marshal and racking engineer into the conversation while the plan is still flexible, not after the concrete's been poured.
Which layout flow suits your racking orientation?
Three flow patterns cover almost every warehouse: U-flow, I-flow, and L-flow.
- U-flow puts receiving and dispatch on the same side of the building, ideal when dock space is limited and you want shared staging.
- I-flow runs receiving in one end and dispatch out the other, suiting long, narrow buildings with high throughput and minimal cross-traffic.
- L-flow turns the path around a corner, useful on irregular sites where a straight-through path isn't physically possible.
Orient your racking rows parallel to the dominant flow direction, and position dock doors to minimise cross-traffic between inbound and outbound movement. When density and flow simplicity conflict, favour simplicity on sites with high SKU turnover. A slightly less dense layout that keeps traffic moving one direction beats a tighter one that creates constant forklift crossings.
How do you choose and pilot the final racking layout?
Selection comes down to a handful of criteria: product mix, throughput volume, equipment fleet, budget, growth plans, and safety and permitting requirements. Weigh these against each other before locking in a rack management system, because chasing maximum density on a budget that can't support specialist trucks just creates a bottleneck somewhere else.
When you brief suppliers, ask for engineering drawings showing load ratings per level, evidence of third-party R-Mark certification where relevant, and full anchor and floor-fixing details. Then work through implementation in this order:
- Build one pilot lane before committing to full rollout.
- Confirm permits and fire marshal sign-off.
- Install rack protection (end-of-aisle guards, column protectors).
- Complete location labelling for your rack management system.
- Slot inventory in your WMS to match the new layout.
- Train staff on the new flow before opening the full site.
How does operational data sharpen racking layout decisions?
Measurements and standards get you a sound structural plan. Real dock and queue data tells you whether the zones you sized actually hold up under peak load. A short two to four week data collection sprint capturing dock throughput and queue times materially improves the fit between layout and real peaks, often revealing that staging areas are undersized or oversized long before the racking is bolted down.
- Dock and queue metrics reveal true staging footprint and peak staffing needs
- Automated sign-in and waiting-time tracking cut disputes over turnaround delays
- Compliance scoring and evidence reporting speed up iteration between design revisions
Pro Tip: Run a short telemetry sprint before finalising very-high-density racking. It's far cheaper to adjust a drawing than to rip out drive-in racking that turns out too tight for actual truck volumes.
What maintenance and inspection protocols keep racking safe?
Racking degrades quietly. A bent upright or a dislodged safety pin rarely looks dramatic, but it can drop load capacity by a significant margin without any visible warning until failure.
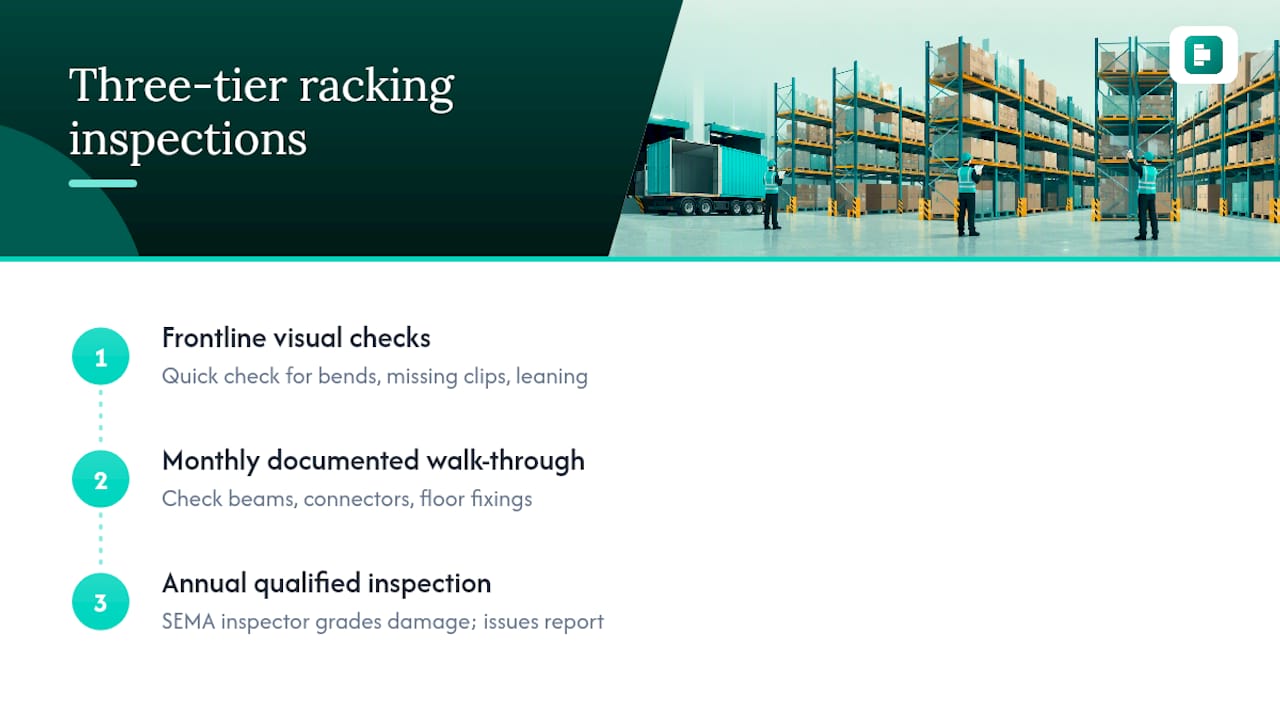
Set up a three-tier inspection routine. Frontline staff should do a quick visual check whenever they're working a bay, looking for obvious damage like bent beams, missing safety clips, or leaning frames. A designated site person should carry out a documented monthly walk-through covering every aisle, checking beam levelness, connector security, and floor-fixing integrity. Then bring in a qualified racking inspector, sometimes called a SEMA-approved inspector in the UK, for an annual formal survey that grades damage severity and issues a written report with remedial deadlines.
Colour-code damage severity on the spot wherever your team spots it, red for immediate load-off and repair, amber for monitor-and-schedule, so nobody has to guess how urgent a dented upright actually is. Keep a repair log alongside your inspection records; insurers and auditors increasingly ask for this trail, and it also helps you spot recurring damage patterns, like a specific bay that keeps getting clipped by the same forklift turn, which usually points to an aisle width or layout problem rather than a rack problem.
Budget for spare components too. Beams, uprights, and safety clips are standard stock items from most rack manufacturers, and having a small buffer on-site means a damaged bay gets fixed in hours rather than sitting out of service for weeks waiting on a supplier order.
How do temperature and humidity affect racking choice?
Environmental conditions change what racking material and finish you should specify, and they change how much clearance and ventilation your layout needs.
Cold storage and freezer environments demand galvanised or powder-coated steel racking rather than standard mill-finish frames, since condensation cycles between cold storage and ambient loading areas accelerate corrosion on untreated steel. Layouts in these zones also need wider aisles in practice, because operators wearing cold-weather gear and fogged visors need more margin, and forklift visibility drops in low-light freezer conditions.
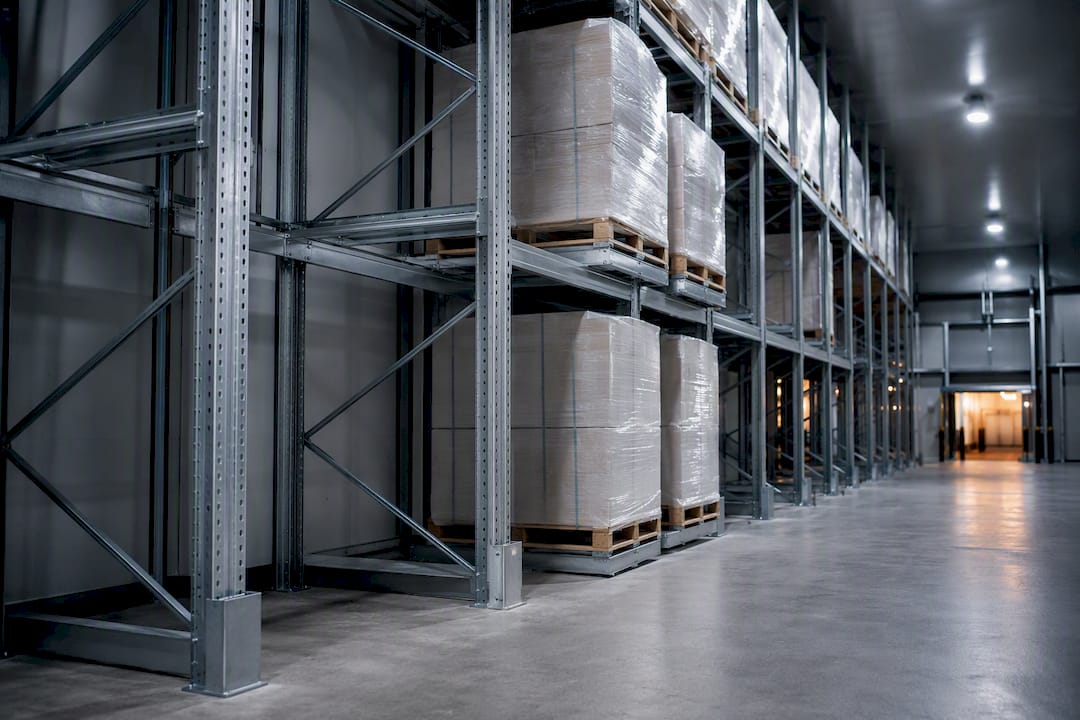
High-humidity environments, common in food and beverage or coastal facilities, push the same corrosion concerns even without sub-zero temperatures. Salt air and washdown routines in meat processing and grocery distribution sites in particular eat into unprotected steel far faster than a dry inland warehouse ever would.
Temperature swings also affect the building structure itself. Large uninsulated warehouses can see meaningful thermal expansion and contraction across the steel frame and floor slab, which matters when you're setting tight tolerances on floor flatness for narrow-aisle or VNA systems. A floor that's within tolerance in summer can shift enough in winter to cause guidance issues for wire-guided trucks.
Get your environmental brief to the racking supplier before you finalise the pallet rack design, not after. Retrofitting galvanised components into an existing layout costs considerably more than specifying them upfront, and the wrong finish in a humid or cold environment shortens rack lifespan well below its rated service life.
How should a WMS connect to your racking layout?
A rack management system and a warehouse management system need to speak the same language from day one, or your beautifully planned layout becomes invisible to the software running daily operations.
Location coding is where this starts. Every rack position, aisle, bay, level, and slot needs a unique code that matches exactly what's physically labelled on the racking, and that code structure should mirror your zone logic: fast-pick locations grouped and named distinctly from reserve storage, so slotting rules in the WMS can actually target them. Get the coding scheme agreed with your WMS provider before installation, because renaming thousands of locations after go-live is a tedious, error-prone job nobody enjoys.
Slotting optimisation is the real payoff. Once your WMS has accurate location data, it can direct put-away to the correct zone automatically, based on velocity, weight, or pick frequency, rather than relying on warehouse staff memory. This is particularly valuable in denser systems like push-back or drive-in racking, where dense storage systems shift complexity from layout onto operations and demand tighter slotting discipline to avoid long retrieval times.
Cycle counting accuracy improves too. A WMS that knows exactly which physical location holds which pallet, tied to a rack management system with correct bay and level data, catches discrepancies far faster than manual stock checks against a spreadsheet. Feed real dock and put-away data back into your WMS regularly, because a location map that drifts out of sync with reality quietly erodes picking efficiency until someone notices fill rates dropping.
Which equipment must your racking layout accommodate?
The racking configuration you choose only works if it matches the equipment actually running your floor, and that goes beyond just aisle width.
Standard counterbalance forklifts need full clearance for their rear counterweight swing, which matters most at aisle ends and cross-aisle junctions where a truck turns sharply. Reach trucks extend their forks forward to reach into the rack, so their footprint inside the aisle is narrower, but check mast height against your clear ceiling carefully, since fully extended reach masts can exceed standard counterbalance heights.
Very narrow aisle (VNA) trucks and turret trucks need either wire guidance embedded in the floor or rail guidance along the rack base, and retrofitting either into an existing slab is disruptive and costly. Decide on VNA operation before pouring or resurfacing floors, not after.
Automated guided vehicles (AGVs) add a further layer: they typically need consistent floor surface quality, clear navigation paths free of temporary obstructions, and defined interaction zones where human-driven trucks and AGVs cross paths safely. If AGVs are even a future possibility for your site, build wider, straighter aisles now and avoid irregular column placement in new construction where you have the choice, because retrofitting AGV-friendly geometry into a cramped legacy layout is far harder than designing it in from the start.
How does lighting affect racking layout efficiency?
Lighting is easy to treat as an afterthought once racking is decided, but poor visibility inside racking aisles directly slows picking and increases the risk of damage to both stock and structure.
High rack rows create shadow zones that standard warehouse ceiling lighting, designed for open floor space, often doesn't reach properly. Aisle-specific lighting, whether LED strip fixtures mounted to rack uprights or motion-activated aisle lights, cuts pick errors by making label scanning and visual checks faster and more accurate at height.
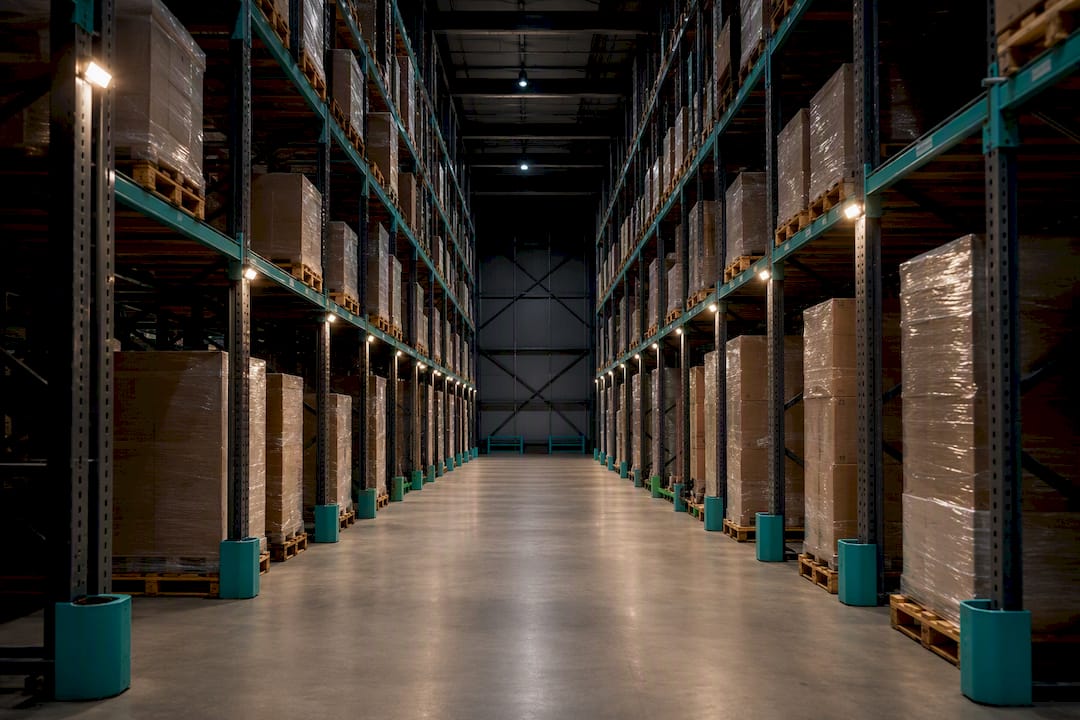
Reflective surfaces matter too. Light-coloured floor coatings and rack uprights bounce available light further down narrow aisles, particularly valuable in VNA systems where natural light rarely penetrates and artificial lighting has to do all the work. Position lighting to avoid glare directly into forklift operator sightlines, especially near mast-raised positions where operators are already managing restricted visibility.
Plan lighting layout alongside racking layout, not after installation. Fixture positions that clash with rack upright locations, or light fittings mounted where a mast will pass during raising, create maintenance headaches and safety risks that are avoidable with basic coordination at the design stage.
How do you plan for future racking expansion?
Racking layouts that ignore growth end up torn out and rebuilt within a few years, which costs far more than planning room for it upfront.
Reserving 15 to 25 percent of floor area as an expansion zone is common practice among experienced planners, giving room to add rack runs without a disruptive full-site tear-down when volume grows. Choose modular rack systems with standard bay widths and beam lengths over custom-engineered configurations wherever your budget allows, since standard components are easier to extend, relocate, or reconfigure as SKU mix shifts.
Leave utility runs, sprinkler branch lines, and lighting circuits with some slack in their routing too, so a future rack addition doesn't force a full services redesign. And keep a record of your original design assumptions, ceiling clearances, floor load ratings, column grid, so whoever plans the next expansion isn't starting from a blank measurement exercise.
What do field installations teach about racking layout?
The recurring mistake isn't picking the wrong rack type. It's skipping cross-functional review between operations, maintenance, safety, and engineering before steel arrives. A five-minute conversation with the fire marshal early on saves weeks of rework later.
Pilot one lane before committing the whole site. Layouts that look right on paper often reveal a travel-path problem or a clearance issue the moment real trucks and real staff start using them, and a single pilot bay surfaces that far cheaper than a full rollout.
**
How can DockLedger support your racking layout project?
Once the steel is up, the real question becomes whether your layout actually holds under live volume, and that's harder to judge from a drawing than from dock data. The right operational visibility tools track live dock scheduling, driver sign-in, and waiting times so you can see exactly where staging zones or aisle flows are straining before a small problem becomes a redesign.
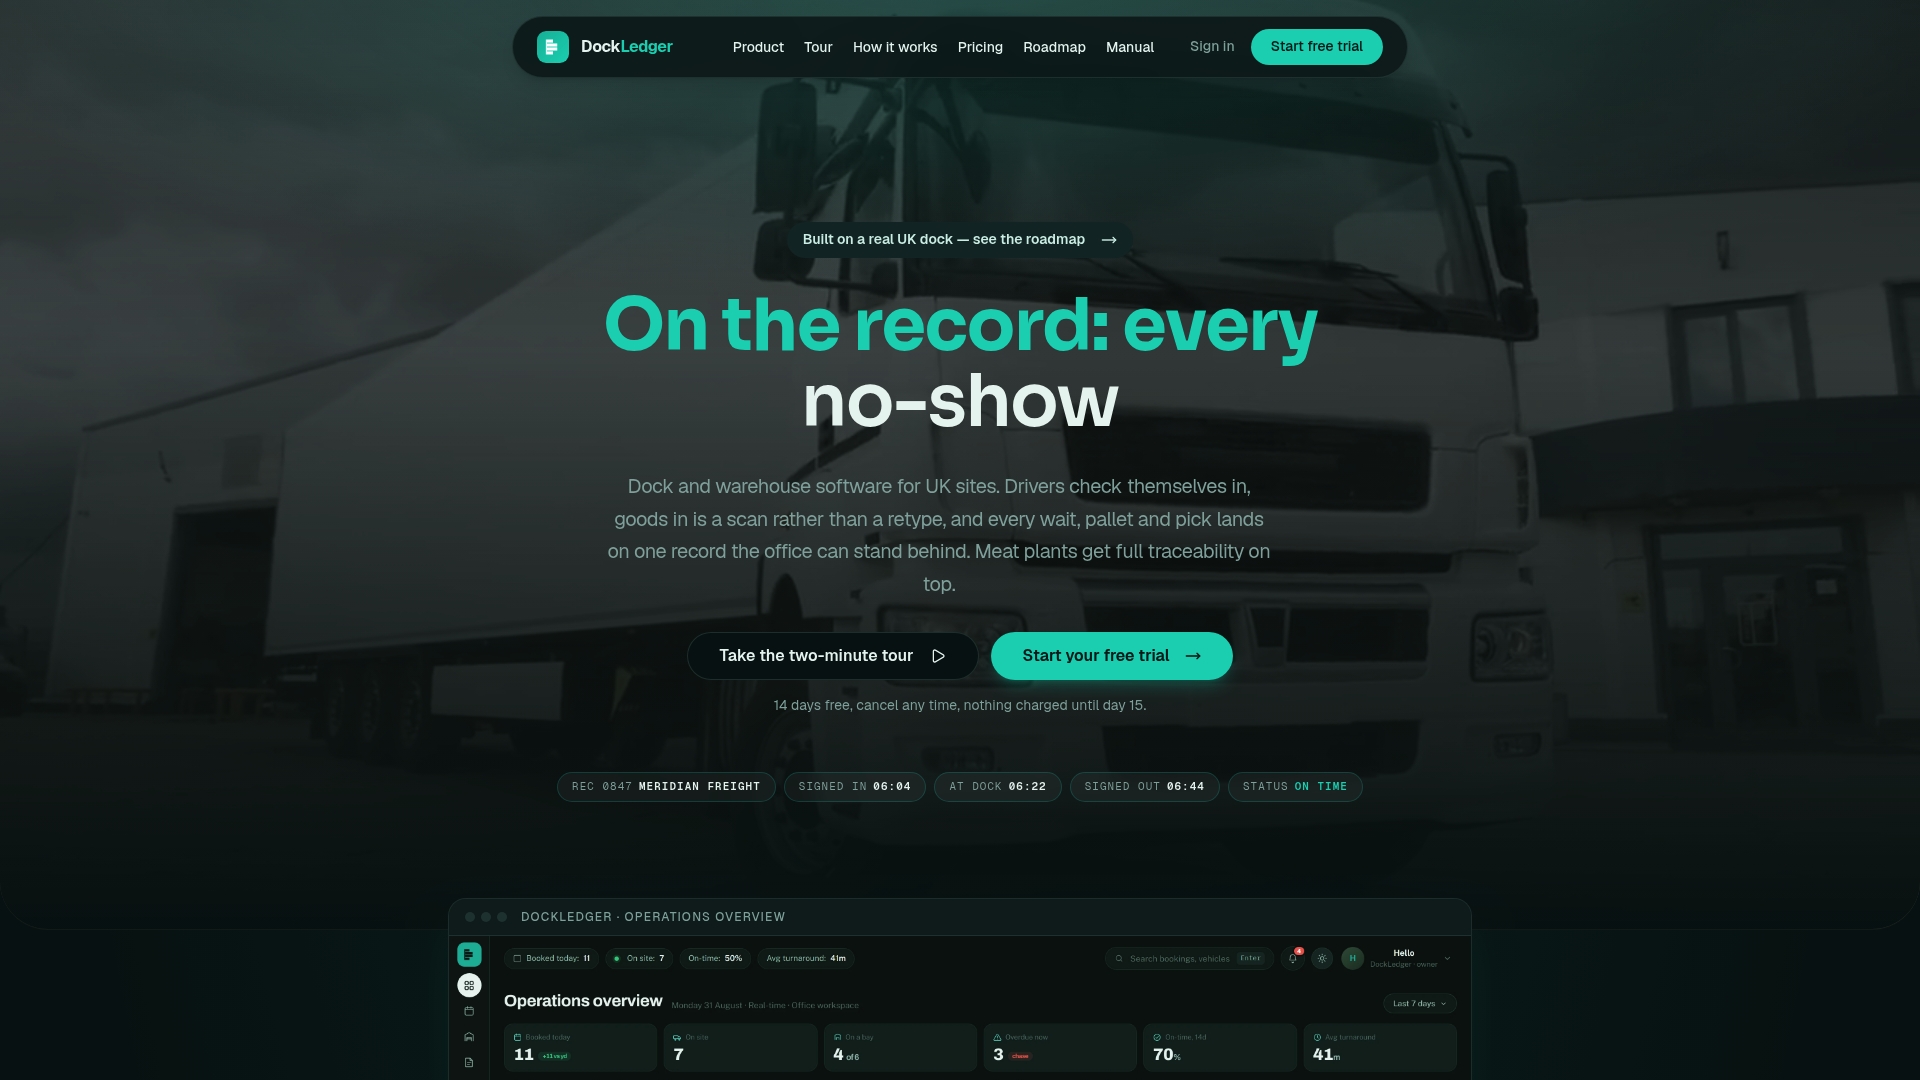
If you're piloting a new zone, running a busy multi-carrier dock, or dealing with unpredictable driver turnaround times, this kind of telemetry earns its keep fast. Compliance scoring can flag recurring carrier delays without penalising smaller hauliers unfairly, and evidence reporting provides a documented record when a layout change needs sign-off from operations leadership. It's a natural complement to the physical planning work covered above, not a replacement for it, measuring how your racking decisions actually perform once trucks and pickers are moving through them daily.
Take a look at the DockLedger product tour to see how the dashboards work, or head to the DockLedger site to start a trial and run your own short data sprint before you finalise a high-density layout.
Where can you check current racking standards?
Before finalising any layout, check ANSI MH16.1 guidance from the Rack Manufacturers Institute for structural criteria, NFPA sprinkler rules for your commodity class, and OSHA's aisle clearance guidance against your actual fleet specs. Always confirm final sign-off with your local building authority and fire marshal, since code interpretation varies by jurisdiction.